
I thought of making my machine (mostly the fans) a little bit more quiet but without reducing the airflow. So plan is to fit in standard fans with more airflow and less noise if possible. This is my first step, mostly because it was the simplest and didn't force me to take the machine apart that much. The STL and ViaCAD files are of course available for download.
I thought of making my machine (mostly the fans) a little bit more quiet but without reducing the airflow. So plan is to fit in standard fans with more airflow and less noise if possible. This is my first step, mostly because it was the simplest and didn't force me to take the machine apart that much. The STL and ViaCAD files are of course available for download.
The fan that was mounted as default was a 35mm Nidec D03P-12TS3 01B, 12VDC moving 9 cubic meters of air per hour at 26.9db, at least according to a Chinese datasheet i found.
30mm fans are somewhat unusual around here so I was aiming for a 40 or 50mm fan which I could easily find here. I choose a 50mm because it was what I had laying around.

 |
Printed good at 0.25mm resolution and normal quality, raft got off easily with dense setting at 5 and 45 degrees angle. |
After some CAD work in ViaCAD this is that I came up with, pretty much the same as the original but no screw fastening it, it seems to sit there very good anyway.
 |
| I just used standard 16mm/3.5mm wood screws to fasten the fan |
 |
| I cut off the original fan cable and soldered the new one onto it. Didn't have the JST connector at hand. |
 |
| It fits real good! after pressing a little it made a snug fit onto the heat sink. |
|
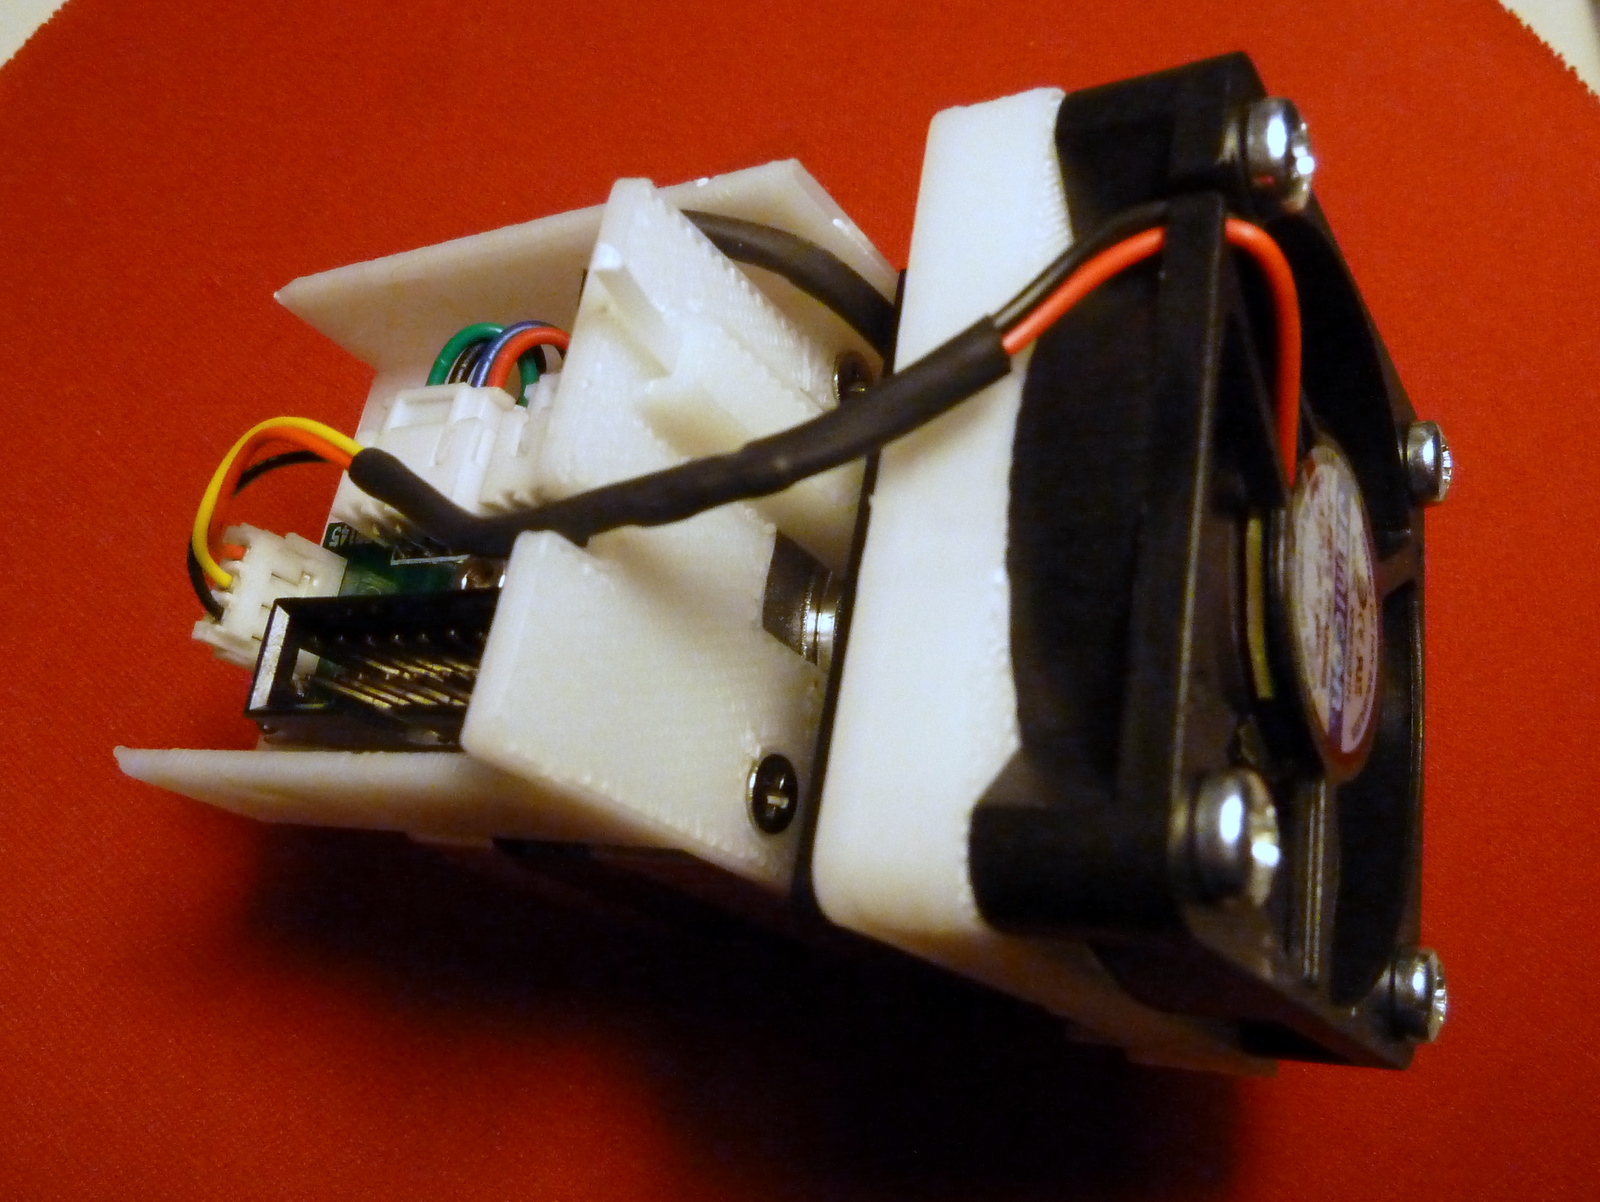
| Everything mounted and looking good. |

 |
| I made the fan holder off center so enough clearance would be available, and there´s plenty of room there. It looks very close on this photo but it´s taken in an angle. There is 5-10mm of room so no worries. |
I have run a few prints and everything seems to work out good. This fan should give the stepper more air and hopefully be cooler and it´s possible to lower the noise as well.
Next step is the internal chassis fan but I´ll run in this one for a while first.
A zip file containing the STL file and the ViaCAD file available for download here.
It prints best with the fan side down and crosses up.
It prints best with the fan side down and crosses up.
No comments:
Post a Comment